
Tag Archive: chocolate facts
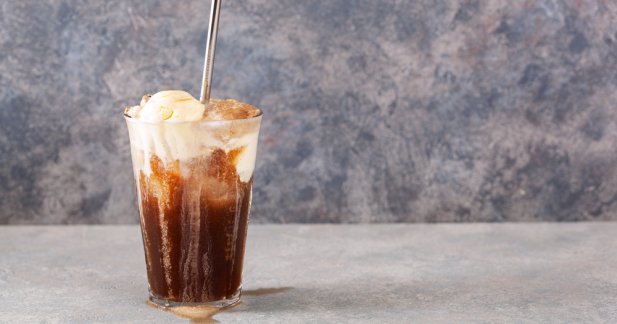
Mother’s Day Chocolate Soda Drink
May 9, 2023
Wow! It’s May already? We’re almost halfway through the year and it feels like I just blinked, and four months already went by! Who's excited for Christmas?
With that realization, I’m sure you know that Mother’s Day is just around the corner and as a daughter I want to surprise my mom with something special. And yes, you guess that right, with chocolate!

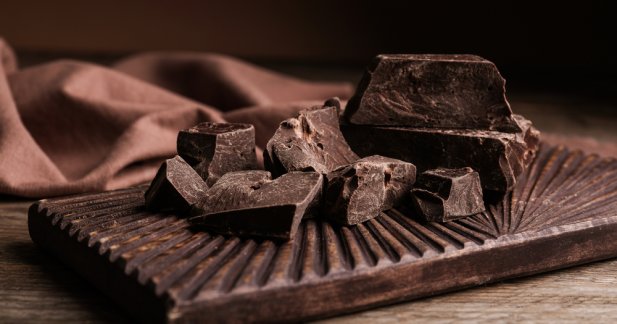
The Art Of Eating A Chocolate
June 14, 2022
Eating a chocolate varies depending on people’s intention, time, location, etc. I could just tell you to pop it in your mouth and munch on it and this article will be over, huh? But to some people, it would mean savoring the different flavors and aroma and getting lost into it, just like how you would be mesmerized on a specific work of art.
What am I talking about? Continue reading to find out!
Want Some Dairy-Free Chocolates?
May 31, 2022
Chocolate production has come a long way in terms of milk alternatives. There is an option for almost all dietary requirements, from nuts to grains, as long as it didn’t come from a cow. But, did you know that true chocolate is already dairy-free?
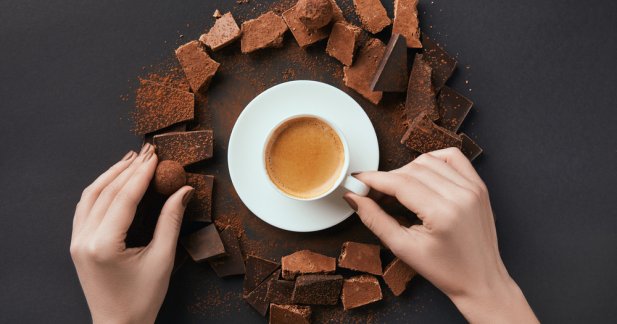
How To Pair Chocolate and Coffee
May 17, 2022
Chocolate and coffee are two of my most favorite food in the world. Put them together and you get a match made in heaven! When done right, coffee can boost the chocolate taste making it richer and smoother than silk. You can tell from this that I’m already day dreaming about it!

What Is Keto Chocolate? Plus A Free Recipe!
May 10, 2022
Is there really such thing as keto chocolate? Almost all commercial chocolates are high in sugar and carbs… and even if you find a sugar-free or low carb one, is it safe to assume that it’s keto-friendly?
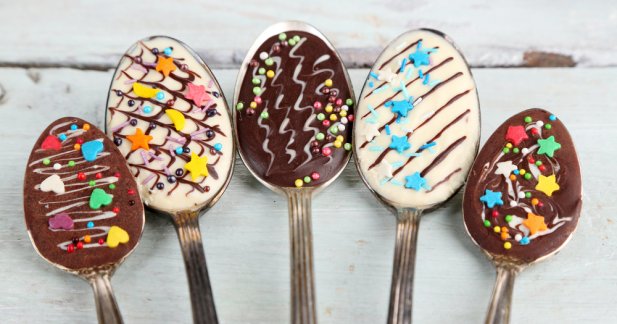
Mother’s Day Chocolate-Dipped Spoons
May 3, 2022
Wow! It’s May already? We’re almost halfway through the year and it feels like I just blinked, and four months already went by! Who else blames Covid?
With that realization, I’m sure you know that Mother’s Day is just around the corner and as a daughter I want to surprise my mom with something special. And yes, you guess that right, with chocolate!
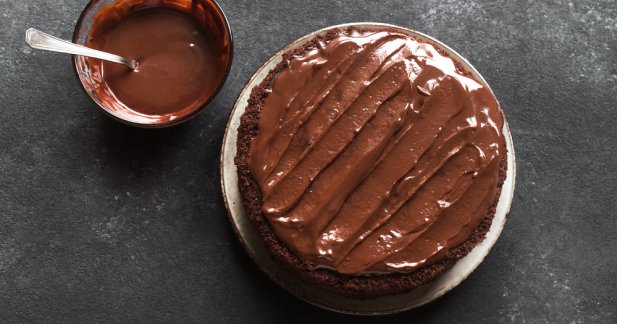
Easy No-Bake Chocolate Cake Recipe Using 3 Ingredients
April 26, 2022
Did you say a no-bake chocolate cake using 3 ingredients? Count me in!
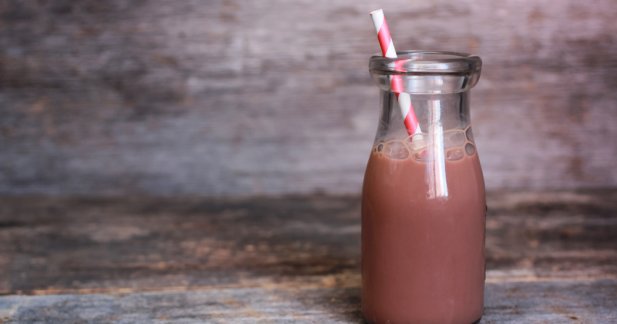
Chocolate Milk as a Post-Workout Gold
April 19, 2022
Chocolate milk as a post-workout recovery drink? It might be the last thing that comes to mind. I know what you think! I get it! After an intense workout or a long run, one would usually reach for a sports drink... or maybe water... but chocolate milk? Huh. Definitely end-of-the-list. Am I right?
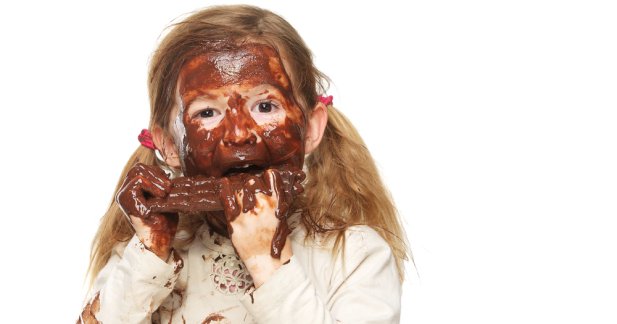
Do You Think You Are Addicted To Chocolate?
April 12, 2022
Did you know that according to research, chocolate is one of the most craved foods in the world? Some people even claim that they are chocoholics but, is it really possible to be addicted to it? Can we even consider it as a drug?
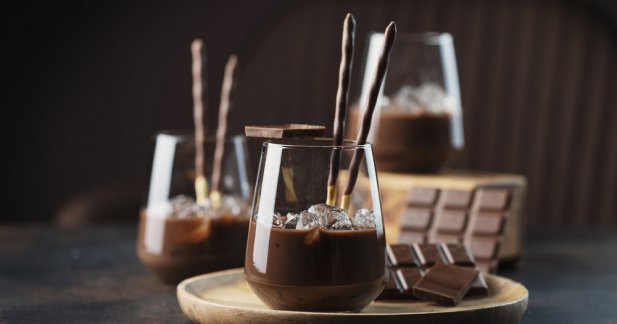
Chocolate Liquor vs Chocolate Liqueur (Plus A Bonus DIY Recipe!)
April 5, 2022
I know I’ve told you before that my favorite chocolate drink is a rich and creamy hot chocolate… but what I haven’t told you is what I’m saving for special occasions (or bad days!) which is the star of today’s show – chocolate liqueur.
First, let’s clear the air. What is chocolate liqueur and how is it different from chocolate liquor?