

Top 5 Mistakes When Melting Chocolate
May 26, 2026
Chocolate can turn a simple dessert into something special. Whether you are dipping strawberries, making brownies, or creating a smooth chocolate ganache, melted chocolate is often the star of the recipe. But melting chocolate is also one of those kitchen tasks that seems easy until things suddenly go wrong. One moment the chocolate looks silky and smooth, and the next it becomes thick, grainy, or burned.
The good news is that most chocolate problems happen because of a few common mistakes. Once you know what to avoid, melting chocolate becomes much easier and less stressful. Here are the top five mistakes people make when melting chocolate and how you can avoid them.
Using High Heat
One of the biggest mistakes people make is trying to melt chocolate too quickly with high heat. Chocolate is delicate and burns faster than many people expect. Even a few extra seconds on a hot stove or in the microwave can ruin it.
Burned chocolate usually looks dry, lumpy, or dull. It may also smell slightly bitter. Unfortunately, once chocolate burns, there is no real way to fix it.
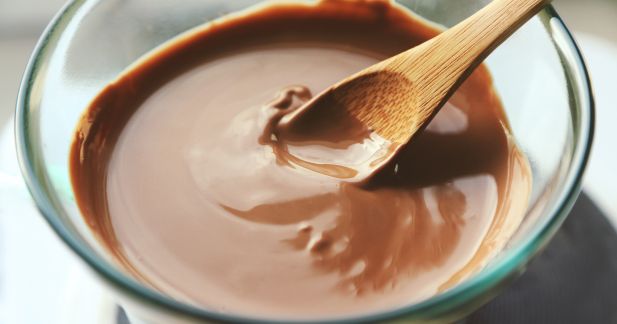
The best way to melt chocolate is slowly and gently. If you are using a microwave, heat it in short intervals of about 15 to 20 seconds. Stir after every interval, even if the chocolate does not look fully melted yet. The heat trapped inside the bowl continues melting the chocolate while you stir.
If you are using the stovetop method, use a double boiler or place a heat-safe bowl over a pot of simmering water. Make sure the water is not boiling aggressively. Gentle heat is the key to smooth melted chocolate.
Letting Water Get Into the Chocolate
Chocolate and water are not friends. Even a tiny drop of water can cause melted chocolate to seize. When chocolate seizes, it suddenly becomes thick, grainy, and difficult to work with.
This often happens when steam from the pot rises into the bowl or when wet spoons and bowls are used. Sometimes people wash a mixing bowl and forget to dry it completely before adding the chocolate.
To avoid this problem, always use completely dry tools and bowls. If you are using the double boiler method, make sure the bottom of the bowl does not touch the water. Also be careful when covering hot chocolate because steam can collect under the lid and drip back into the bowl.
If your chocolate does seize, you may still be able to save it for sauces or baking by adding a small amount of warm cream or oil, but it probably will not work well for dipping or decorating anymore.
Not Stirring Enough
Many people think they should leave chocolate alone while it melts, but stirring is actually very important. Chocolate melts unevenly, especially in the microwave. Some parts become hot faster than others, and without stirring, certain spots may burn while other pieces stay solid.
Stirring helps spread the heat evenly throughout the chocolate. It also helps you notice when the chocolate is almost melted so you can stop heating it before it overheats.
Even if you still see a few small chunks, keep stirring. Often the remaining pieces will melt from the heat already in the bowl. This gives you smoother chocolate and lowers the risk of burning it.
Using a rubber spatula or dry spoon works best because you can scrape the sides and bottom of the bowl easily.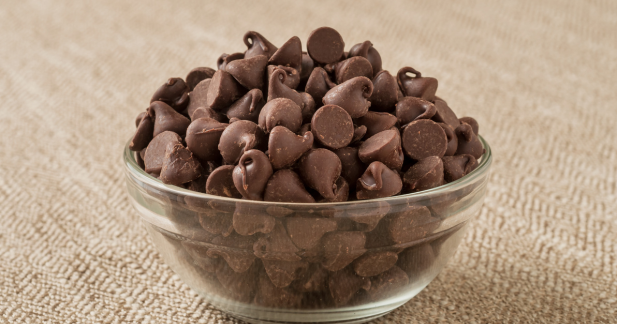
Choosing the Wrong Chocolate
Not all chocolate melts the same way. Some people grab chocolate chips from the pantry and wonder why the texture turns thick or strange after melting.
Chocolate chips are designed to hold their shape while baking, so they often contain ingredients that make melting harder. This does not mean they cannot melt, but they may not become as smooth as high-quality baking chocolate.
For the best results, use chocolate bars, melting wafers, or baking chocolate that is meant for melting. Dark chocolate, milk chocolate, and white chocolate all melt differently too. White chocolate is especially sensitive because it contains more milk solids and sugar.
Higher-quality chocolate usually melts more smoothly and tastes better too. If you plan to dip fruit, coat candies, or drizzle chocolate over desserts, using good chocolate can make a big difference.
Check out these dark chocolate options from Amazon.
Melting Too Much at Once
Another common mistake is trying to melt a huge amount of chocolate in one bowl. Large amounts take longer to melt evenly, which increases the chance of overheating some areas while other parts stay solid.
Big batches can also become difficult to stir properly. This often leads to uneven texture and frustration.
It is usually easier to melt chocolate in smaller portions. If you need a large amount for a recipe, melt it in stages instead of all at once. This gives you more control and helps keep the texture smooth and glossy.
Smaller batches are also less stressful for beginners. If something goes wrong, you have not wasted an entire bag of chocolate.
Smooth Chocolate Starts Here
Melting chocolate may seem tricky at first, but it becomes much easier once you understand the common mistakes. Most chocolate disasters happen because of heat, moisture, or rushing the process. By using gentle heat, keeping everything dry, stirring often, choosing the right chocolate, and working in smaller batches, you can melt chocolate successfully every time.
The next time you make chocolate-covered strawberries, brownies, or homemade desserts, take your time and be patient. Chocolate rewards careful handling, and the result is always worth it. Smooth, shiny melted chocolate can make any dessert look and taste more impressive, even if you are just baking at home for fun.
Don’t forget to follow our Facebook and Twitter accounts for more fun and interesting chocolatey ideas!
Most people eat chocolate. Few learn how to truly understand it.
Try the free 5-minute chocolate tasting experience and start noticing chocolate differently using any chocolate you already have at home.

- Creepy Chocolate Dirt Pudding Cups: A Spooky Halloween Treat! - October 20, 2026
- 10 Spooky Chocolate Treats for Halloween - October 13, 2026
- The Best Fall Chocolate Flavor Pairings - October 6, 2026