
Tag Archive: white chocolate
Is Chocolate Liquor Alcoholic?
July 16, 2024
Have you ever stumbled upon the term "chocolate liquor" and wondered if it's an alcoholic beverage? The name itself can be quite misleading, so let's clear up the confusion in simple terms.
Is There Caffeine in White Chocolate?
May 21, 2024
Have you ever wondered whether your favorite white chocolate bar has caffeine in it? Let's find out!
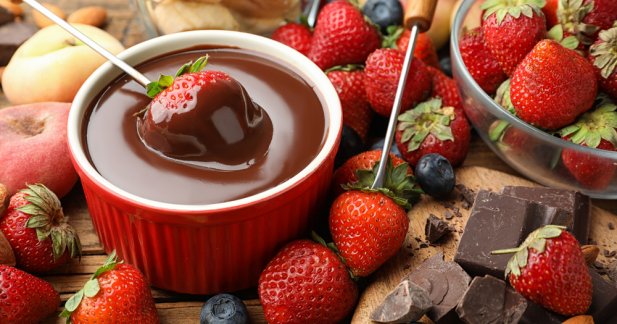
Chocolate and Fruits: The Perfect Flavor Combo for Food Lovers
June 20, 2023
Are you ready to experience another delicious chocolate pairing? Just imagine the smooth, delicious chocolate mingling with the sweet, juicy goodness of fruits. It's a match made in food heaven that's sure to leave you craving more. Let’s dip into the delicious combination of chocolate and fruits!
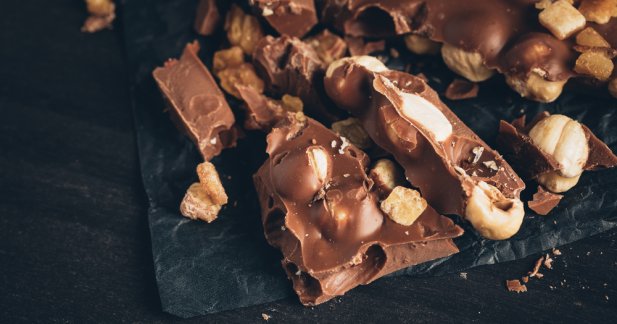
The Perfect Blend Of Chocolate And Nuts
June 13, 2023
Here is another delicious combination that many people love: chocolate and nuts. When you combine these two, they create a delicious mixture of flavors and a satisfying crunch. Have you tried chocolate and nuts?
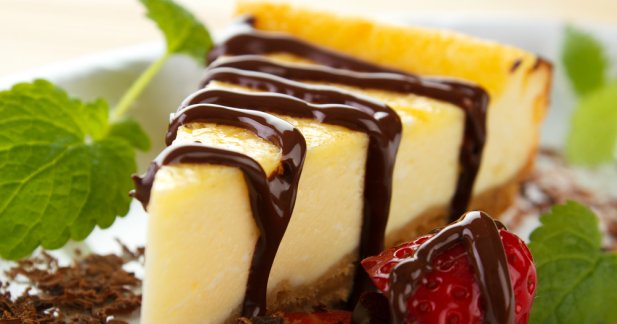
Exploring The Perfect Pairing Of Chocolate And Cheese
June 6, 2023
Even though chocolate will always be a classic pick, whether as a flavor or a snack, it carries on and makes its own mark in culinary history, especially when its combination with other kinds of food adds another milestone to its name! Have you tried chocolate and cheese?
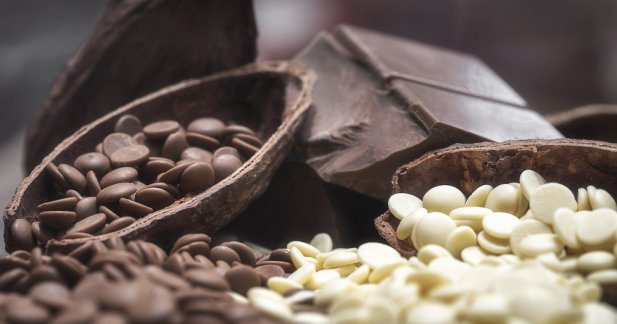
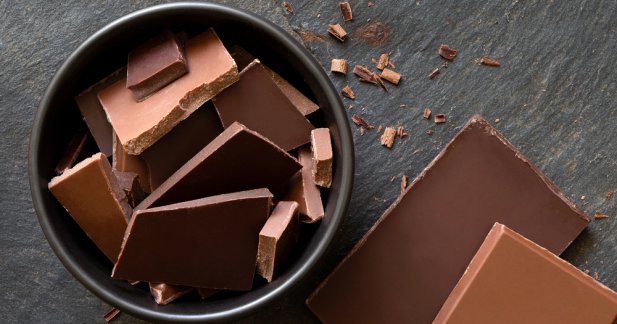
Discovering the Different Types of Chocolate: A Delicious Guide
May 16, 2023
Chocolate will always be a favorite snack and flavor. It originally came from the Aztecs, who called it "xocolatl," meaning a bitter drink made from cocoa beans. The Aztecs loved chocolate so much that they considered it more valuable than gold and used it as their money for trading. Isn't that amazing?
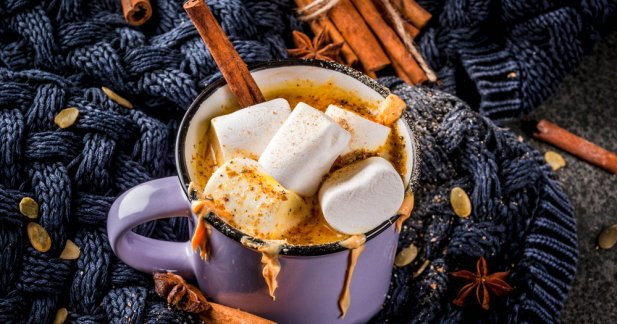
Homemade Pumpkin Spice White Hot Chocolate
November 15, 2022
It’s pumpkin season and as temperatures drop this time of year, it’s definitely time for a pumpkin spice white hot chocolate. Since we’ve shared a couple of recipes for a hot chocolate drink using dark chocolate already, I couldn’t wait to try using white chocolate this time and spice it up to taste just like pumpkin pie!
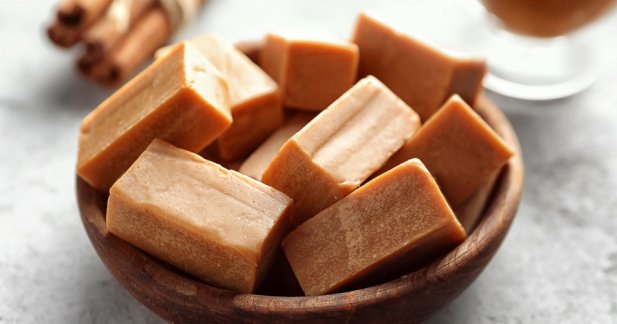
What is Blonde Chocolate and How To Make One
September 6, 2022
If you are like me and don’t know that a blonde chocolate exists, then we are definitely late to the chocolate party! But better late than never, right? Let me introduce you to blonde chocolate aka caramelized white chocolate that tastes heavenly!
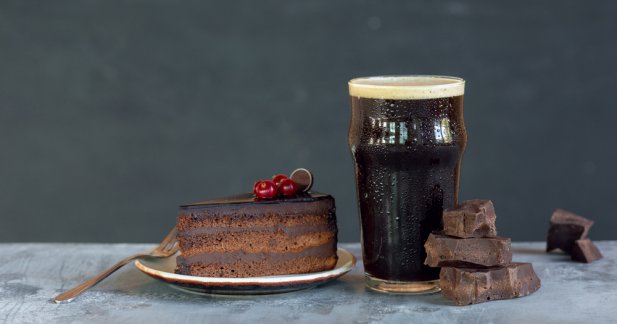
Pairing Chocolate And Beer – Finding The Perfect Match
August 30, 2022
With chocolate being one of the most craved foods in the world, there is no doubt you would want to try different pairings to find its perfect match. And although chocolate is already amazing on its own, it can also help intensify other food and beverages – like beer! Yes, you read that right… beer and chocolate! Here’s how…
Does Chocolate Go Bad? Plus Tips on How to Store It
July 5, 2022
Sometimes I forget about a chocolate bar I had stashed away (hard to believe but it’s true!), and when I find it, it’s past the expiration date. Can I still eat it? Does chocolate go bad? Does it really expire?